The simple truth is that our kids are, well, messy. They usually have the most stuff in the household, and as long as they are living under our roof it’s a never ending story of growth: in and out of clothes, shoes, toys, crafts, games, gadgets etc.. However, whenever I work with kids, I’m always positively surprised by their ability to find creative solutions, their willingness to help and share, and their natural need and feel for order. Some more, some less, but they all have it in them. You might just be in for a big surprise by how much they actually want to be involved and how eager they are to learn how to be(come) organised. All they need is a little help and guidance.
So how can we help our kids? By teaching them these 3 simple things:
1. reducing
2. setting limits
3. designating a home for all things
The best part is that we as parents are actually able to give our kids a gift for life! The gift of teaching them how to appreciate and care for their belongings. Now and forever.
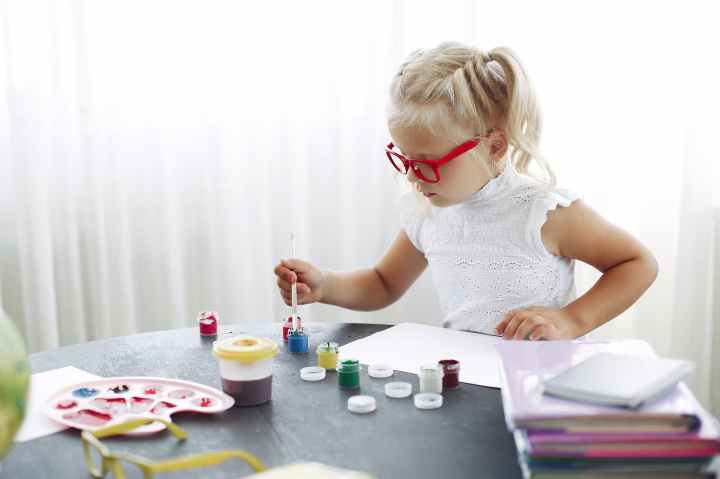
I’ve recognised the worst 3 clutter culprits with kids, I bet you know too which ones these are…My top 3 list includes: clothing & shoes, arts and crafts, and toys. Clothing is no surprise, since kids might be going through 2 sizes in a few months, depending on age. But since I’ve gotten so many questions about what to do with the piles of artwork and paper crafts the kids are bringing home from kindergarten and school every single day or week (and some kids additionally creating more at home on a daily basis!) this is the category we will tackle now with our kids’ recent return to (art production) school.
Decluttering alone or with kids and for how long?
If your kids are over 5 years old I would suggest you do it together with them, if younger than that you can do it on your own (after they’re in bed!). Start with this project fresh on a free (weekend) morning, and depending on the age of your child(ren) try not to spend more than max. 15-30 mins in one go, since that’s usually how long kids can focus on decluttering. Remember that it takes a loot of energy for a tiny human to make so many decisions at once. My tips below might help you find your own unique way of dealing with your family’s artwork and paper craft mountain.
TOP TIP! The more often you declutter this category, the quicker it goes! And I’m sorry to say, but it won’t be enough with one session per year! If you want to keep on top of the artwork and paper clutter, it has to be made into a fun habit and done on a regular basis. I try to do this with my kids (pre-schooler and 2nd grader) every month.
1. KonMari your artwork
Decluttering artwork and paper crafts the KonMari way consist of three steps, as follows.
Step 1: Gather all your artwork and paper crafts
Like with all other KonMari tidying categories we start with gathering every single piece of artwork and paper crafts in the house and bring them to one place. A large floor space is all you need for this purpose. Before you start going through it all piece by piece, you might want to separate the artwork by year or month, depending on how much you have.
Step 2: Does it spark joy – what does it mean to a child?
Now comes the hard part. The only self evident thing is that you can’t keep it all! But what should you keep and what should you confidently let go of? When doing the joy check with kids ask them to hold the item close to them and feel if they like it. You might need to find some alternative ways to ask them what a certain piece of art means for them. I’ve put together a handy list of questions you can use when going through each item and find the gems truly speaking to their (and your) hearts:
Comparison questions:
- * do you like this one or this one more? Why?
- * you seem to really like blue, is this blue drawing maybe your favourite?
- * use the artwork the child seems to like the most as a reference when comparing with new items
- * is this one so beautiful that you would like to give it to someone special (family, friends)?
- * let’s hang your 5 favourites on your wall. Can you please show me which ones you like the most out of these (max 15 alternatives)?
Fact based questions (mainly to help the adult guide the process):
- * are there duplicates or even several of the same kind? Are they broken?
- * does it represent an age/milestone/certain stage for your child?
- * does it show a personal bond? Ie. pictures of your family, grand parents etc.
- * did your child spend hours on something or only a few seconds?
- * what does your child want you to save?
- * did you receive the artwork as a gift?
Even if your child offers you every single drawing they make as a gift, it doesn’t mean you need to keep them all. Thank them for the gift, show them love and appreciation and they’re probably super happy with the attention. Keep only 5-10% of the best of the best, and keep them with joy and confidence.
TOP TIP: Remember to choose what you want to keep, rather than choosing what to get rid off! Always keep an OUTBOX (paper recycling) handy so that your kids know where they can independently put artwork they’re ready to gratefully part with.
Step 3: Find a home for each item
Once you’re done with the selection process you have one more job to do – organising and storing, meaning deciding where these jewels should live going forward. You might have a shelf or a drawer where you keep favourite things until the next decluttering session. Or for the true gems you might want to look into one of the options below.
2. Organise a pop up exhibition
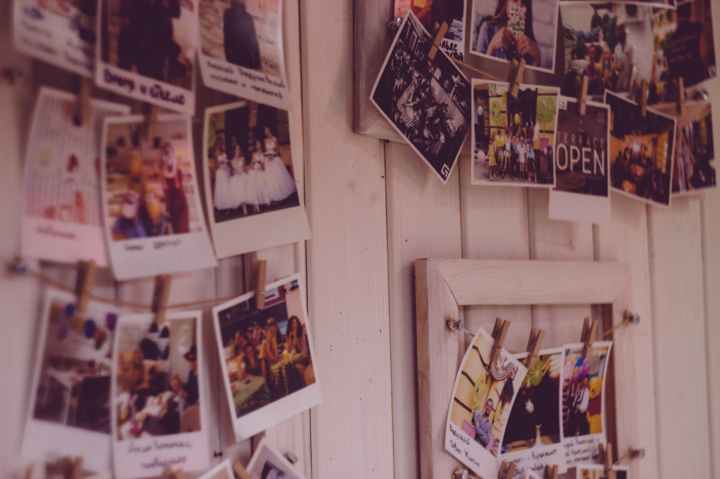
Do you have an empty wall at home or in your kids’ room(s)? Why don’t you make it into an art wall where your kids can exhibit their creations for the next month, and then exchange the art, like a rotating pop up exhibition?! Using a simple clothesline with some clothespins will do. Make sure the artwork is placed on a child friendly hight too. You can even invite your friends and family over for an opening apero. Make it fun! Perfectionism has no space or place in this.
3. Make a memory box for each child
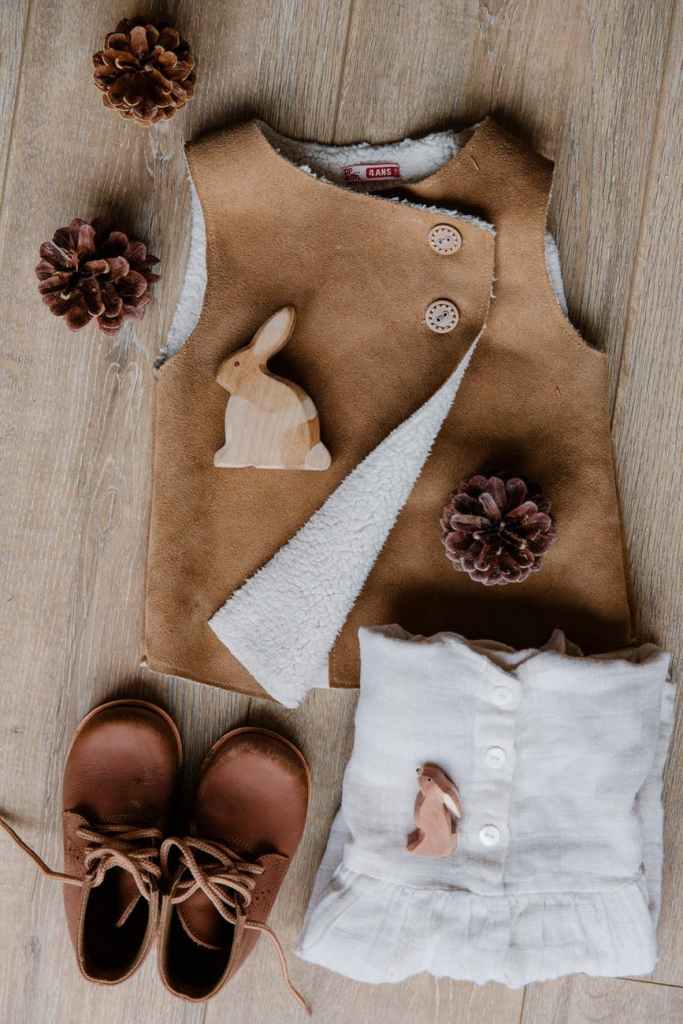 My first and most important tip for working with kids is to create a large enough memory box for each child. This box is only for very special emotional belongings, milestones and memories from their childhood. Examples of items to keep in this box could be a completed baby book, the first shoes, a special occasion dress, their birth certificate, special photos and artwork, a special soft toy etc. You’re the designer and creator of this box.
When it comes to artwork, why don’t you ask yourself this: did your parents save your old artwork and did you like getting this collection as an adult? If you did enjoy it, maybe your kids will too. But chances are they don’t want it and then you might as well consider the next option, a digital book. This is a topic with so many answers, and remember that there is no right or wrong – only what feels right for YOU!
4. Create a photo book out of the most precious artwork
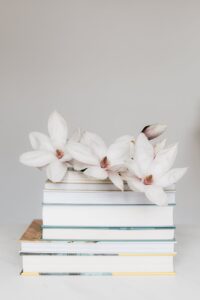
This is a lovely idea, however, it requires you to keep track of which child did what and when. You can also choose to take a picture of the child(ren) together with their masterpiece so if you choose to make a photo book you don’t only have the masterpiece featured but also the child. There are also a few options specialised in kids’ artwork and memory books, you might want to check out Doodlenest or the Artkive app.
Have you organised your children’s artwork yet?
Let us know and comment below with your best tips!
Best of luck and enjoy decluttering!
This article was first published on the expat blog My Swiss Story, where I am part of the expert editorial panel as the Home Expert. Would you like to contribute as a guest writer? Please contact me.