This year many of us might not be able to travel to see family and friends over the end of year holidays. Maybe you think this strange year’s photos are not worth showcasing? Well, they are! If you ask me I think everybody should make a photo book from time to time. Wouldn’t it be amazing to make something with your own hands and see a huge smile or tears of happiness on loved ones faces? Not only as a quick fix holiday spirit boost but for long lasting enjoyment! And no, you don’t need to be a professional photographer to do this, your own smart phone pictures are more than enough! They show authentically and genuinely you and your (family’s) journey.
Why should you make a photo book?
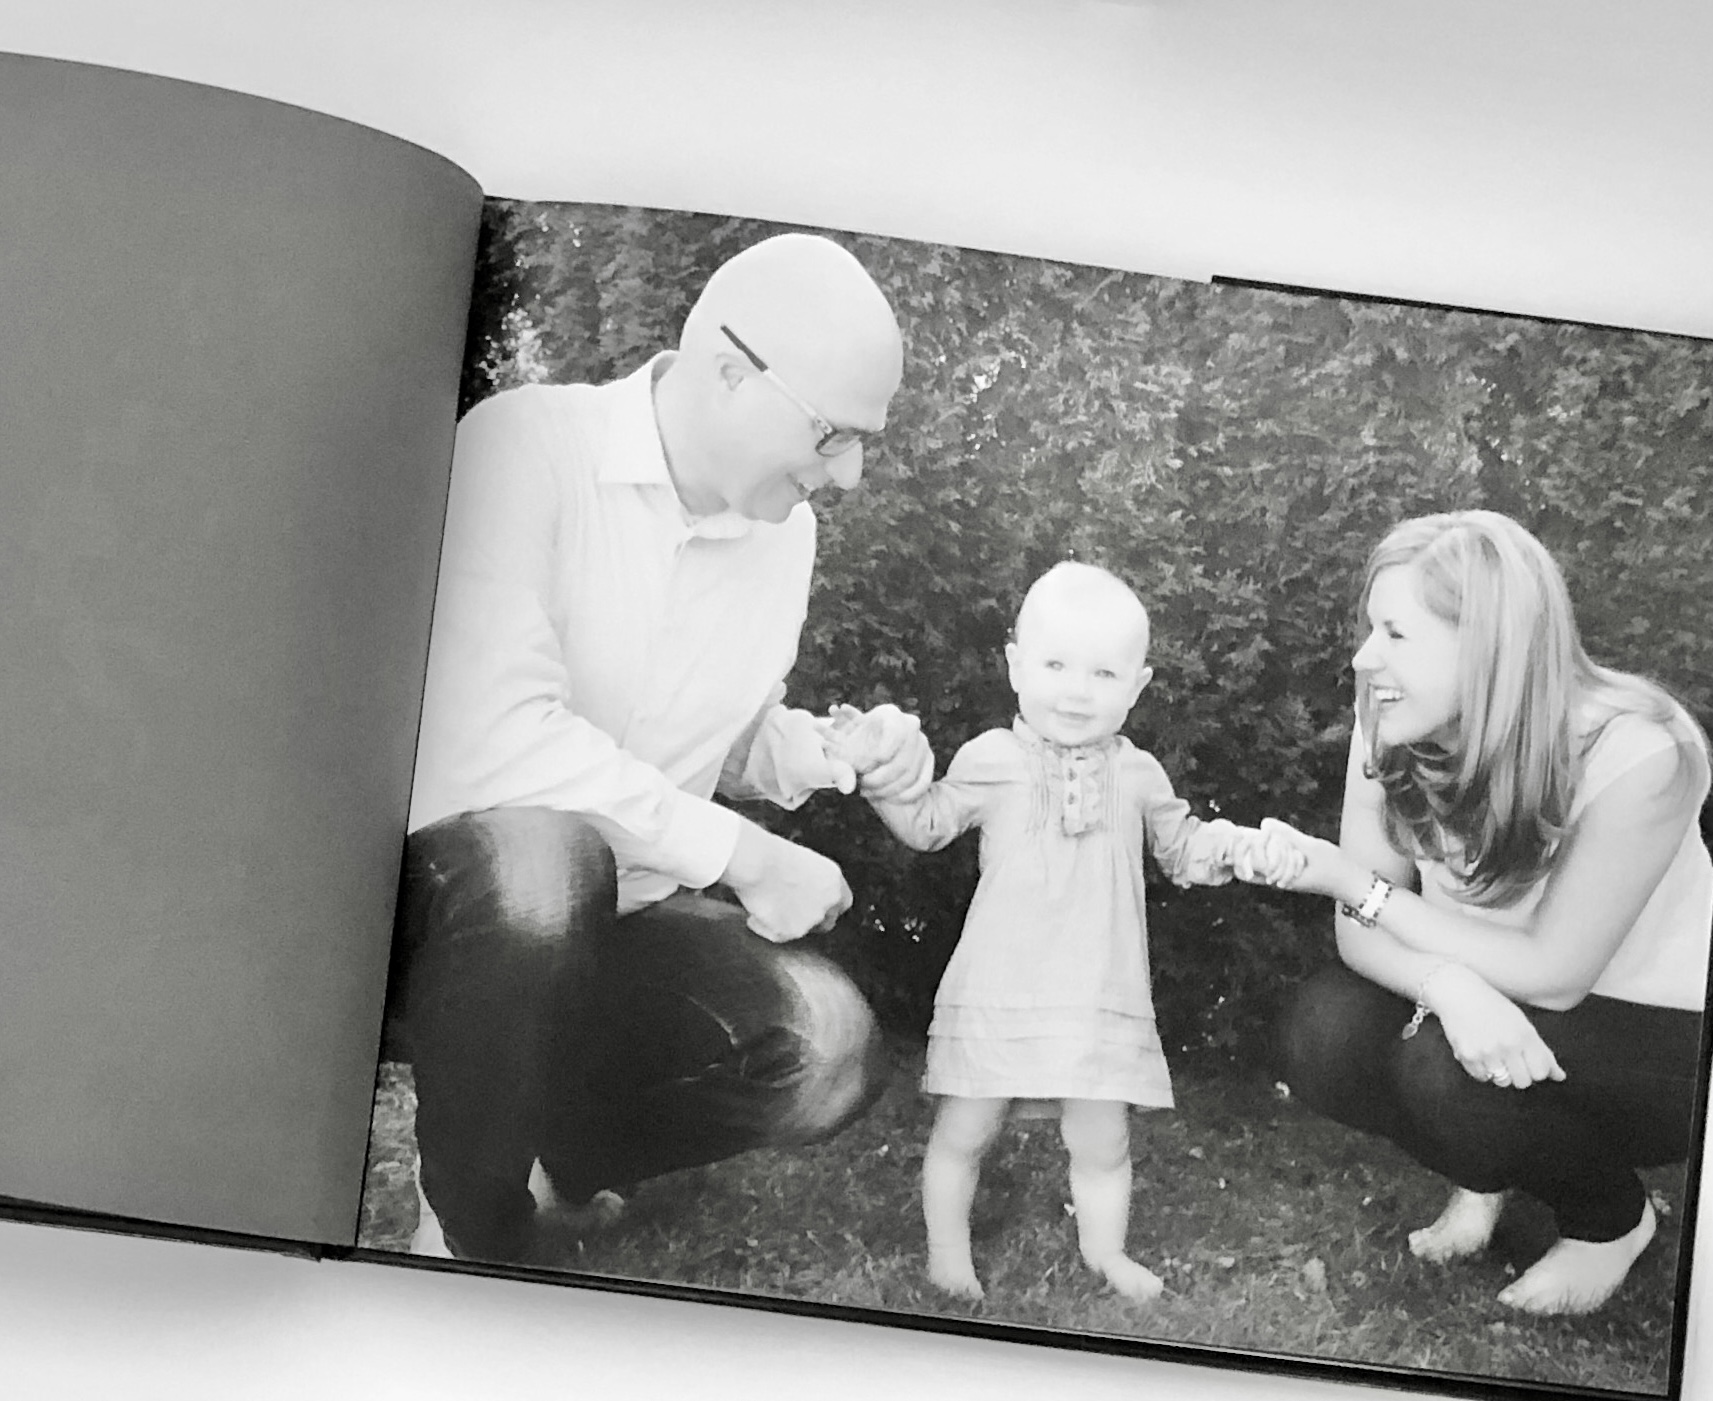
It’s one of the most thoughtful, unique and personal gift ideas you can have. And it’s made with love. I have only made a few photo books myself over the years. Then life and 2 kids happened and my photo book inspiration ended with my daughter’s first year photo book. This was almost 8 years ago. We all LOVE looking at her photo book, especially the lady herself. The feeling of holding a physical book with magical and precious moments is something completely different than just looking at pictures on a smart phone or on a computer display. This year I’ve promised myself to make a family year book. Are you ready to try it together with me? And yes, let’s break it all down into smaller parts. One task per day or per week. The choice is yours – depending on when you want the gift to be ready.
#1 Organise and sort your digital photos into a single place
If you’re anything like me you probably have tens of thousands of pictures in your photo archive. Don’t despair, you’re not alone and we’ll get through this together! If some of them are currently stored on different devices, the first step is to bring all your photos into one place. Smart phone pictures, camera pictures on memory cards, pictures received on email or WhatsApp…the list is endless. Move them to one single place you feel most comfortable with. This can be an external hard drive, a folder on your computer or an online cloud service. The first time you do it, it will require some time and effort but once the system is in place you will only have one place you need to back up and it will stay organised when you commit to it.
By sorting and organising your pictures into one place you will eventually save time, energy and ultimately, receive joy.
#2 Develop a filing system and folder structure
The truth is, there is no ‘one size fits all’ system and structure. The filing system will reflect you as a person and photographer. Your needs are as unique as you are. Here below I’ve made a list of some easy guidelines to get you started on your filing system:
1. Create folders by year
2. Within the year folder, create chronological sub folders:
months, occasions, seasons, holidays, whatever feels as a logical timeline to you.
3. If you take pictures of different themes, make sure you have corresponding sub folders for them. Think family, food, nature, sports etc.
4. Organise your favourites in folders also by person (ie. grandparents, siblings, friends etc.) if you know that you wish to make personalised gifts during the year.
5. Create a separate project folder, ie. Photo Book Christmas 2020. Within this folder you can break it down into further sub folders, as needed.
How do you NOT get overwhelmed with all the pictures being taken every month?
As a rule of thumb to always stay organised, happy with and in control of your pictures is to make use of this action list:
* Think twice before shooting yet another picture, it will save you lots of time later on
* At the end of each month: go through the past month, delete duplicates , blurry ones and all others that don’t pass your joy check
* Optional: edit pictures to be kept
* Add all the chosen photos into the right folders at the end of each month
Speaking with my professional organiser hat on and from experience: the key is commitment and sticking to your system, once it’s up and running.
#3 Curate your photo collection ruthlessly and realistically
Once you’ve started decluttering your photos every month you will soon be a total decluttering photo guru! Be ruthless as well as realistic. You cannot fit all your favourite photos into one book. Unless you’re making a book series of them! Make joy based decisions and only choose the Best of the Best, the ones you truly love the most. Here too, less is more and around 150 photos is ideal for a photo book. It will be tough to get down to this number, but it will be worth it and you will feel like a champion!
Start copying your chosen photos into the project folder and sub folders. Make sure you only COPY the pictures into your Photo Book folder, if you make a mistake and delete something you’ll still have the originals safely in store in the original folders. Once your project is done you can delete the project folder.
Remember to check that the resolution for your chosen pictures is good enough for printing. The recommended resolution for most photo book developers is 300 dpi (dots per inch). Even if you have photos with a lower resolution they might be ok too, but maybe just in a smaller size. Usually the photo book editing software will also tell you if your picture is of a high enough quality.
#4 Why are you making this book? Tell Your story
When you’re creating your photo book, think of it as telling a story, Your Story. Some of these questions might be worth considering so you know what kind of story you want to tell, to whom and in what context.
Who is it for? Grandparents? Children? Potential clients?
What is it about? Is it about your family, important events or about a passionate hobby?
Where will it be seen? Does the text/images need to be larger for older eyes to see? Or is it to showcase your art pictures on a coffee table?
Why are you making this book? Is it a personalised gift? A memory book for your kids? A book to keep on display in a public space?
Once you’re clear on the purpose of the book, you’re ready to write your texts. If you prefer texts. Some books work perfectly well without any added clarifications. Always keep your audience in mind and think about what kind of story they’re interested in hearing.
#5 Create your photo book
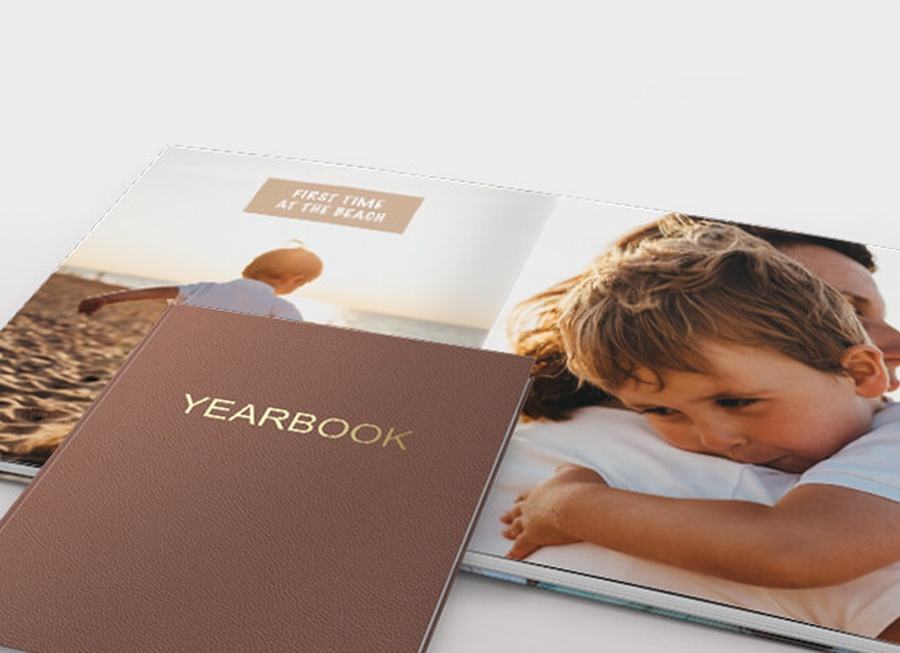
Now when your photos are in order it’s time to get creative! Choose a photo book provider based on location, quality, personal preference, budget.. Before I have also chosen a provider in my home country when making books or calendars for relatives, it’s much more cost efficient, quicker and it’s being mailed locally. Win-win. Ifolor may not be the top of them all quality wise, but a really good and affordable option if you want a provider with many different country options to send out locally from. If you’re based in Switzerland you may want to look into this family owned local Swiss company called Bookfactory. I teamed up with them because they are offering amazing quality products (their yearbook featured below) and Bookfactory have been so kind to offer our readers, that’s YOU, a 20% discount for any photo book product with the code BFXMYHAPPYHOME (valid until 31.01.2021)!
And finally, if you get really into creation mode, I recently stumbled upon Neveo, a service where you can create and send out a monthly photo journal to grandparents or other relatives. But that’s for the next level book makers..
Have fun creating and gifting love!
This article was first published on the expat blog My Swiss Story, where I am part of the expert editorial panel as the Home Expert. Would you like to contribute as a guest writer? Please contact me.